12.23.2011
11.21.2011
UPDATE No 2 : NYC INSPIRED CONDO
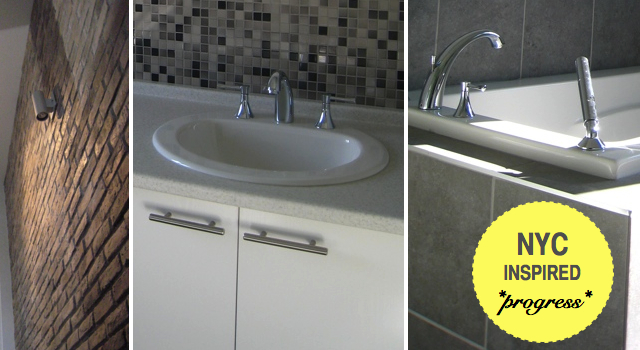
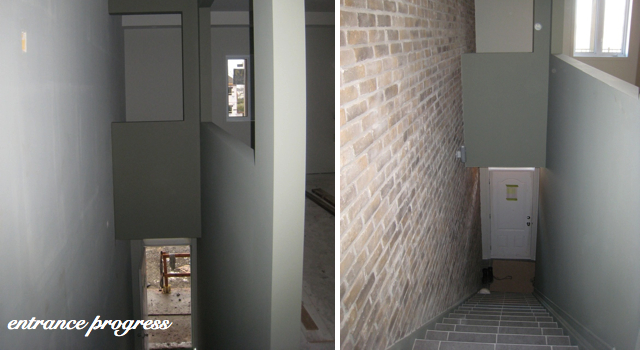 When I think of a loft, I think of brick wall. It's one the main features I wanted for this space. The tall entrance wall was the perfect location for these brick veneers. They give the space a nice texture and warmth. These artificial bricks are from a company called Speka. I selected the VersaBrick- Urbain. There are two wall sconces on that wall (you can see one of them in the top right photo). Once the lights are on, it will further emphasize the texture.
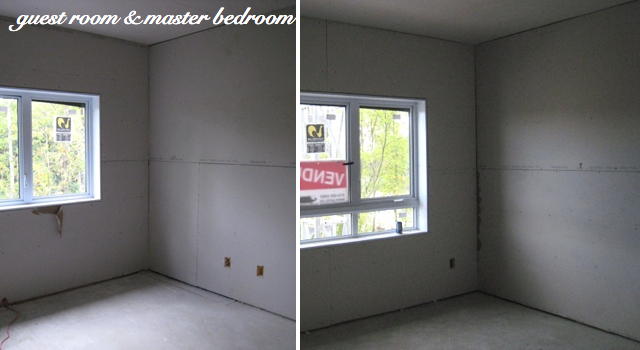
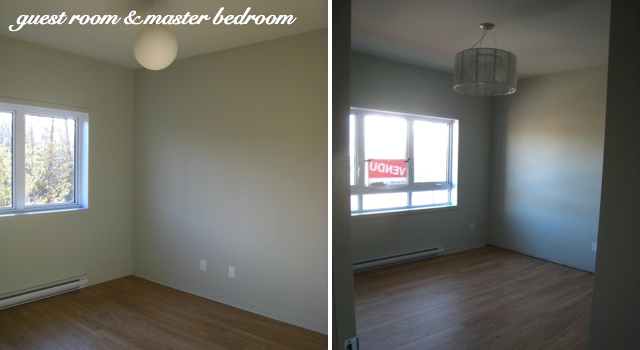
The walls in the guest bedroom and the master bedroom have been painted the same color, but the sun exposure gives them a different look. I've planned something special for the feature wall in each room. I'm looking forward to show it to you once it's ready.
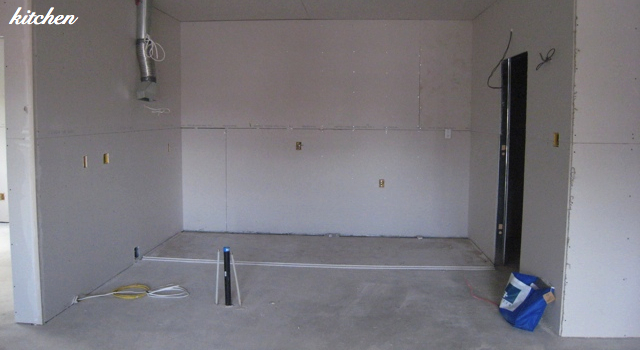
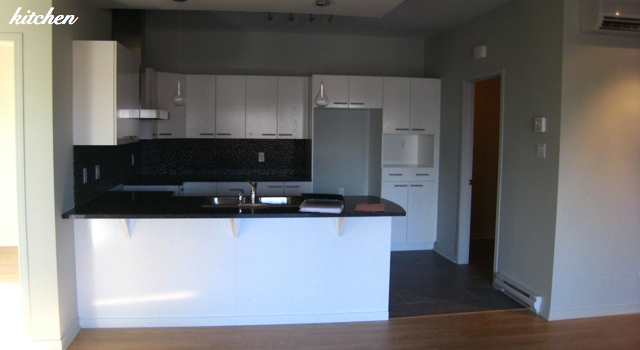 For the kitchen, we're only missing the appliances and accessories. I love the pendant lights above the counter. (I'll take more detailed pictures next time). They are large glass bulbs that don't take up a lot of visual space and distract from the kitchen.
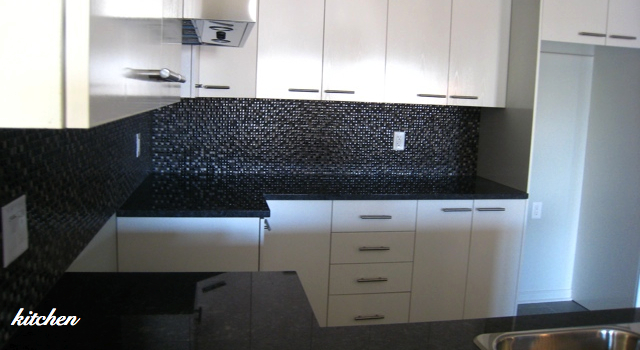 The backsplash is really fun.
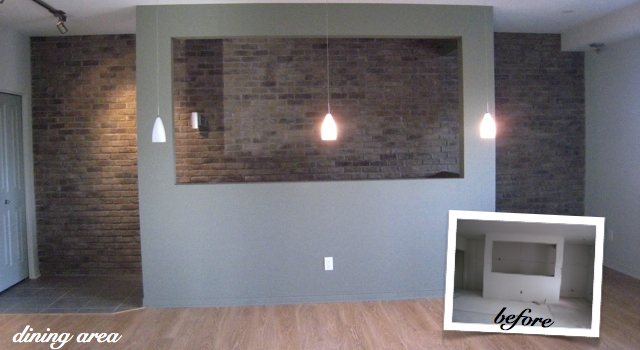
Above is a view of the future dining area. I chose a simple pendant light. I wish I could have used the same as the ones above the counter in the kitchen but it was unfortunately not possible. Still looks good so far.
Did you notice that the baseboards are painted the same color as the wall? This was to create a more modern look. When you paint the baseboard the same color as the wall, they essentially disappear and help create various architectural 3D shapes.
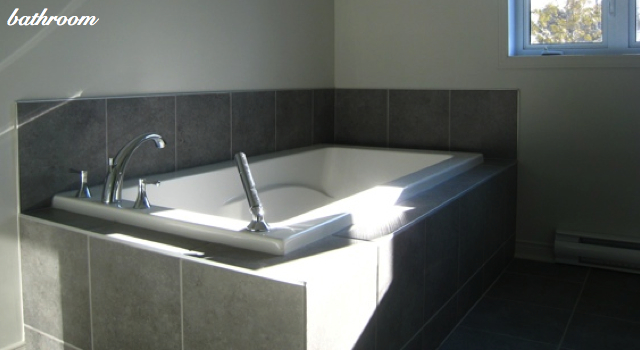
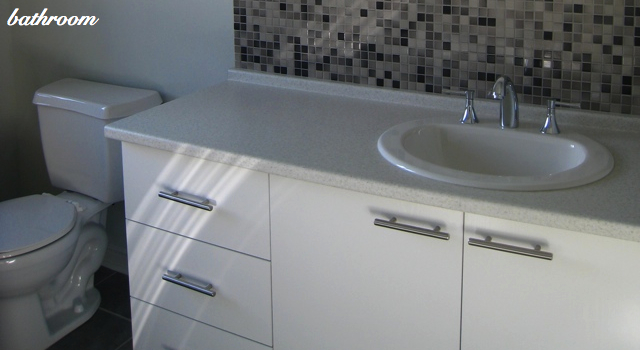
I'm happy with the bathroom progress so far as well. It's fairly neutral right now (just the way I like it) and the accessories will give it personality. Since it's an entry level condo, the counter is a laminate which eliminates the possibility of an under-mount sink. Using a light colored laminate minimizes the contrast between the sink and the counter, so they still read as one uniform block.
10.10.2011
MINI MAKEOVER FOR RENTERS

10.03.2011
UPDATE : NYC INSPIRED CONDO

I previously wrote a post on a mood board for a condo that I'm working on. Above is the approved furniture layout for the space. It includes two bedrooms, a bathroom, a laundry room, a kitchen and an open space with a nook for the living and dining area. I had to work with the existing wall configuration since it's a model suite, and I'm really happy with it.

The selected samples are fairly neutral to reflect that sought after urban look. You can see some of the samples above for (01) a high gloss grey finish for some pieces of furniture, (02) backsplash in the kitchen, (03) ceramic floor tiles, (04) granite counter in the kitchen, (05) accent tiles in the bathroom, (06) laminate counter in the bathroom, (07) cabinets, (08) accent wall paint, (09) door wall paint, (10) main wall paint, (11) ceiling paint, (12) fabric sample for the sectional, (13) fabric sample for the chaise, (14) fabric sample for the banquette, (15) floor sample.
I had an opportunity to visit the site after the drywall was installed. You can see below a view of the future dining area with the little nook for the den on the right. Behind the half wall are stairs leading up to the condo. A main feature I thought of for this space is the brick wall. It will add a nice texture to the room. I'm looking forward to seeing the final product.

The preliminary selection of furniture for the dining area includes a banquette from G. Romano, three pendant lights from Kendal lighting, three Rochelle chairs from Elite Living, the new Tranetorp table from IKEA and a Lego vases from Zone Maison.

For the table setting, I'm leaning toward something simple. I like the idea of placing table runners along the short side of the table like in the top left photo by alkemie. I also like the contrast between the charcoal runner, the white tableware and the yellow flowers and lemons in the top right photo by paratinovia. I spotted these really neat #'s runners and placemats from CB2. They look perfect for my color scheme.

9.28.2011
CENTRAL CONDOMINIUM : DESIGNING KITCHENS
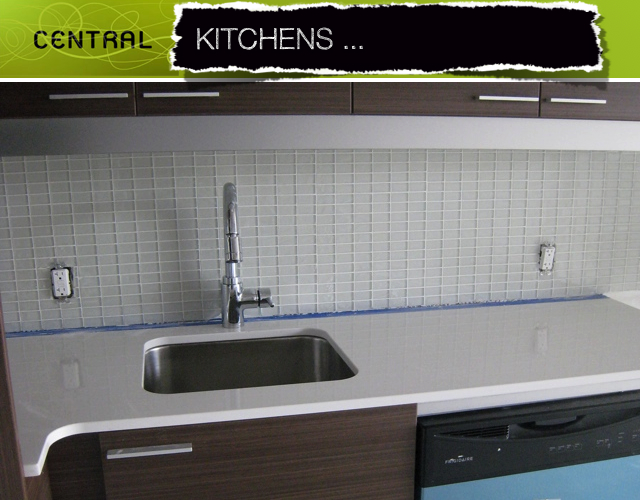


Needless to say, there are a lot of possible combinations : 1485 to be exact (just for the kitchen). That's a little more than 6 times the amount of available units! So it would have been possible to make sure that none of the kitchens in the building would be identical. Granted, not every sample works well together and some finishes were more popular than others. Still, the owners had a lot of choices and it was fun putting various combinations together during our meetings.

After carefully checking the dimensions on site, the kitchen suppliers started delivering and installing the cabinets a couple weeks ago. On a recent visit to the site, I took pictures of the progress in some units where the kitchens were almost completed. The surface still needs to be washed, but you can still see how different combinations of color can alter the mood of the spaces, as shown below:

With a medium colored cabinet, the white glass backsplash and white countertop brightens and freshens the look.

The metal backsplash is a nice contrast against the dark textures cabinets and the dark counter. Once the track lights are up, it will look spectacular.
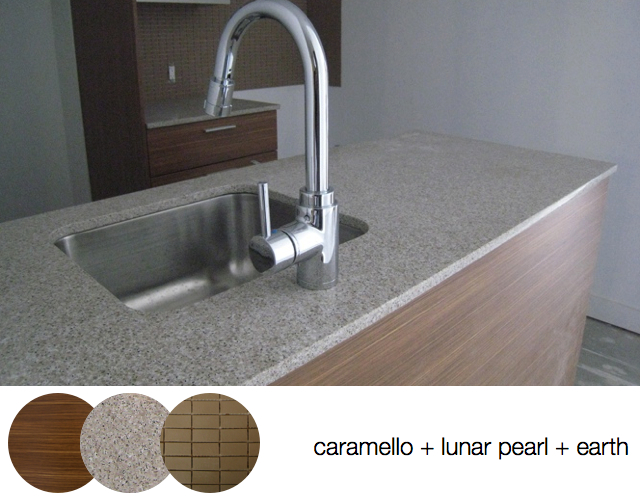
The lighter cabinets with the warmer countertop and backsplash softens the look of the space and gives it a bit more traditional look while staying contemporary.
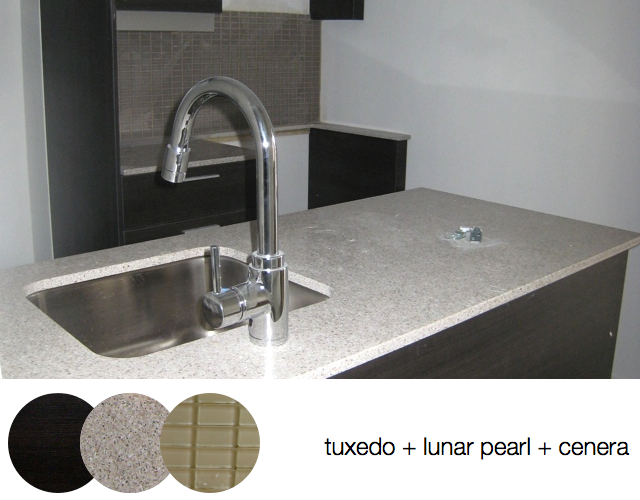
Using the same traditional style counter with the darker cabinet and complementary glass backsplash, modernizes the look a little more than the previous combination.

The dark countertop and backsplash mixed with the lighter cabinet gives a very graphic look due to the high contrast. This look is more dynamic and will look great with a bold accent color.

It's possible to go completely dark with a dark cabinet, dark countertop and dark backsplash. With the white appliances contrasting the dark finishes, this combination will require a good balance of color with the accessories. Using stainless steel or black appliances instead, this space could look very sexy with dark walls to get more of a lounge ambiance.

The darker cabinets also look great against the white countertop and white glass backsplash, which softens the look of the kitchen and brightens the space.
9.13.2011
CENTRAL CONDOMINIUM : INSIDE THE COURTYARD
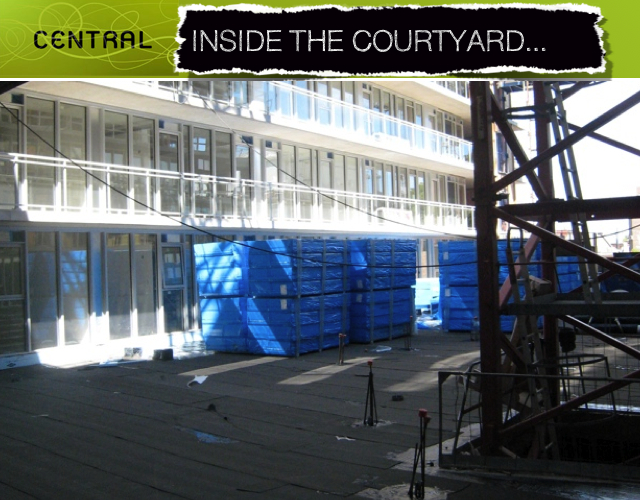
As some of you already know, the amenities at Central 1 include an interior courtyard. This feature essentially allows everyone living in the condo to have a shared backyard in the city. While the priority is to complete the units, work is also being done in the courtyard. I've been taking pictures of the courtyard as subtle changes occurred, documenting the process. Last week all the original construction material was gone and some workers were preparing the ground. I have enough pictures to show you a bit of the evolution of the courtyard so far.

Previously the courtyard was the perfect location to store various building materials. There was even a little "office" (blue box on the right). The big red structure on the right is for the crane used to lift items. It's really high.


Once most of the windows of units facing the courtyard were in, almost everything was taken out. You can see the concrete slab underneath.

Last week, it lookeds like rigid insulation was added on the side wall and the ground was water proofed. I'm looking forward to see how this looks later on. Also given the fact that the building is so close to the neighboring house, some of the workers were also repairing the roof of the house next door, which was much needed.


9.11.2011
INSPIRED BY NEW YORK


9.05.2011
CENTRAL CONDOMINIUM : LOS ANGELES MODEL


The construction process is going well at Central and the rooms are taking shape. The Los Angeles is another available model that faces North. It's a two-bedroom-two-bathroom unit. There are seven units with this floor plan in the building.
It's nice to see the finished walls. It makes a big difference. You can see below a before and after of the view of the entry from inside the unit. It's not completely done but it's well under way. You can also see a portion of the master bedroom with the closet opening on the right and the smaller opening leading to the ensuite on the left.


For a lot of the units, the cabinets are in. Here you can see below the popular Tuxedo finish in one of the Los Angeles units.

This model has a compact kitchen tucked in a nook. I took pictures of this nook at different stages of construction to see the evolution of that space. The fridge will be placed in the large opening on the left and the stove and fan will be placed in the opening on the right. In front of these cabinets, there will be an island attached on the wall to the left that will house a sink and a dishwasher. You can see the pipes protruding from the side of the wall and some of the cabinets are already installed. The owners had a choice between different types of appliances. From the look of it, it looks like this one will have a slide-in stove.


The tiles in the bathroom are also being installed. For example in the ensuite below, you can see the Beta in Crema tiles on the floor and on the wall. In this particular unit, the owner has decided to upgrade the tiles on the wall surrounding the tub, so the tiles on the floor and the tiles around the tub are the same. It gives a nice effect. The grout should follow soon after.
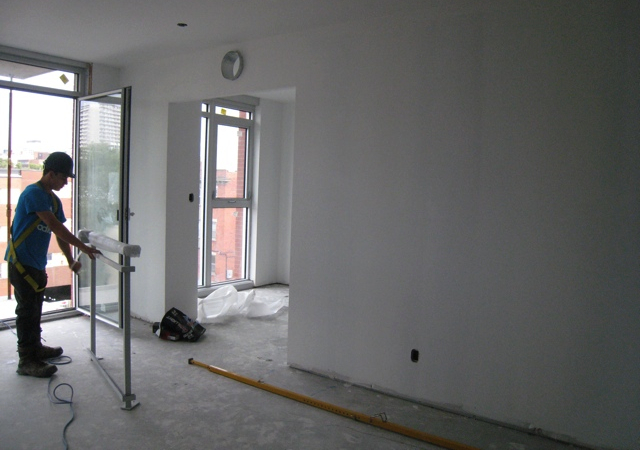
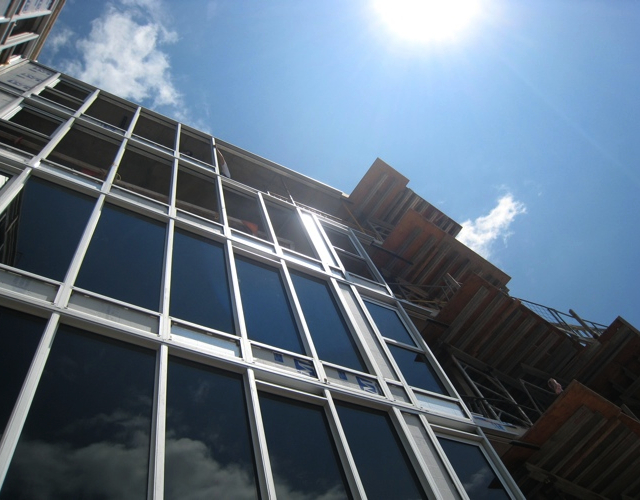
There's also work being done on the outside. The frames for the railings on the balconies are also being installed.
